How to Bar Lace Jordan 1 Low | The Ultimate Guide
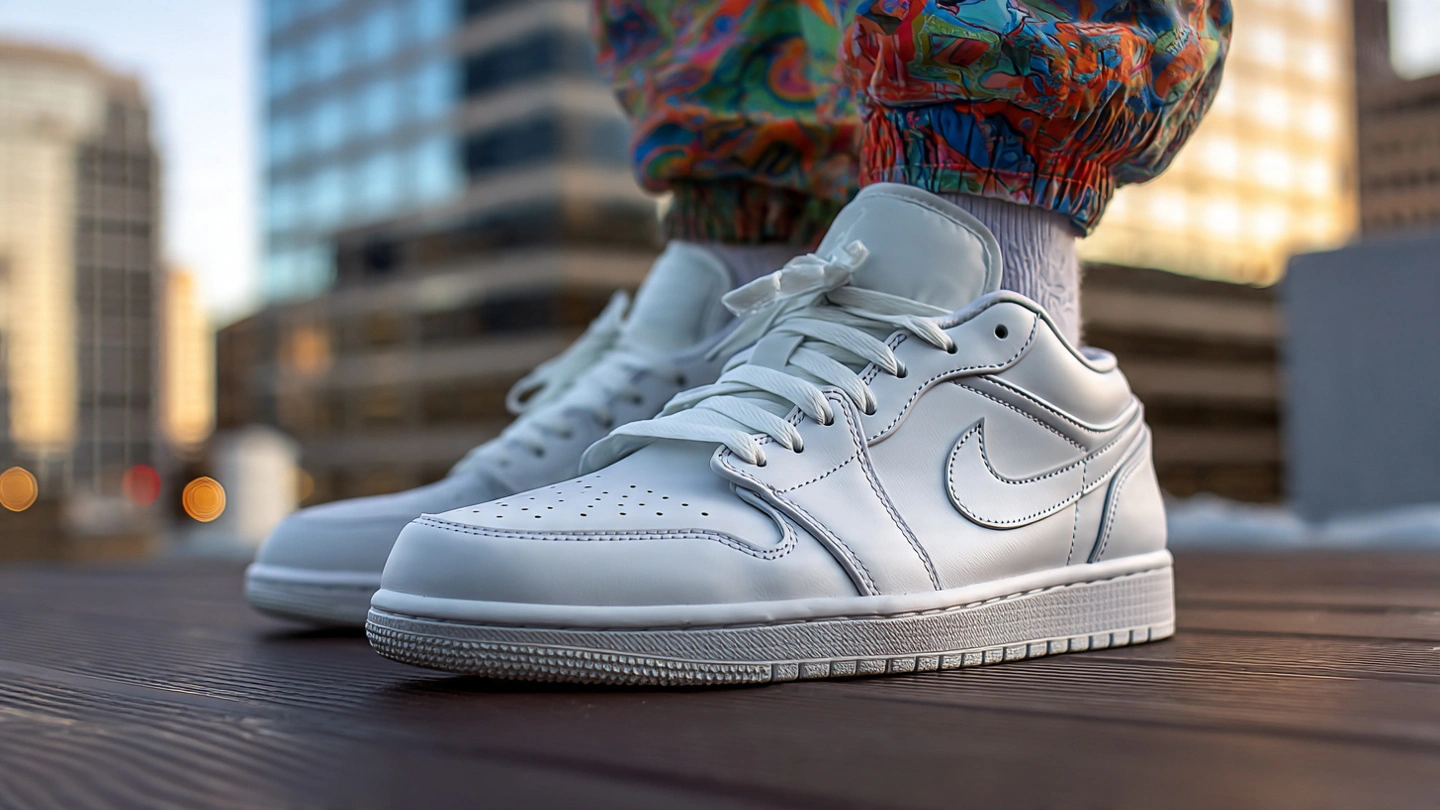
The Jordan 1 Low is one of the most iconic sneakers in modern streetwear. Known for its clean design and versatile styling, it can easily be upgraded with different lacing techniques. One of the most popular styles today is bar lacing, which gives your sneakers a neat, straight, and premium “factory finish” look.
If you want your sneakers to stand out with a clean aesthetic, learning how to bar lace Jordan 1 Low is a must.
This guide provides a step-by-step lacing tutorial, styling tips, expert sneaker care insights, common mistakes to avoid, and FAQs to help you achieve the perfect look.
What Is Bar Lacing?
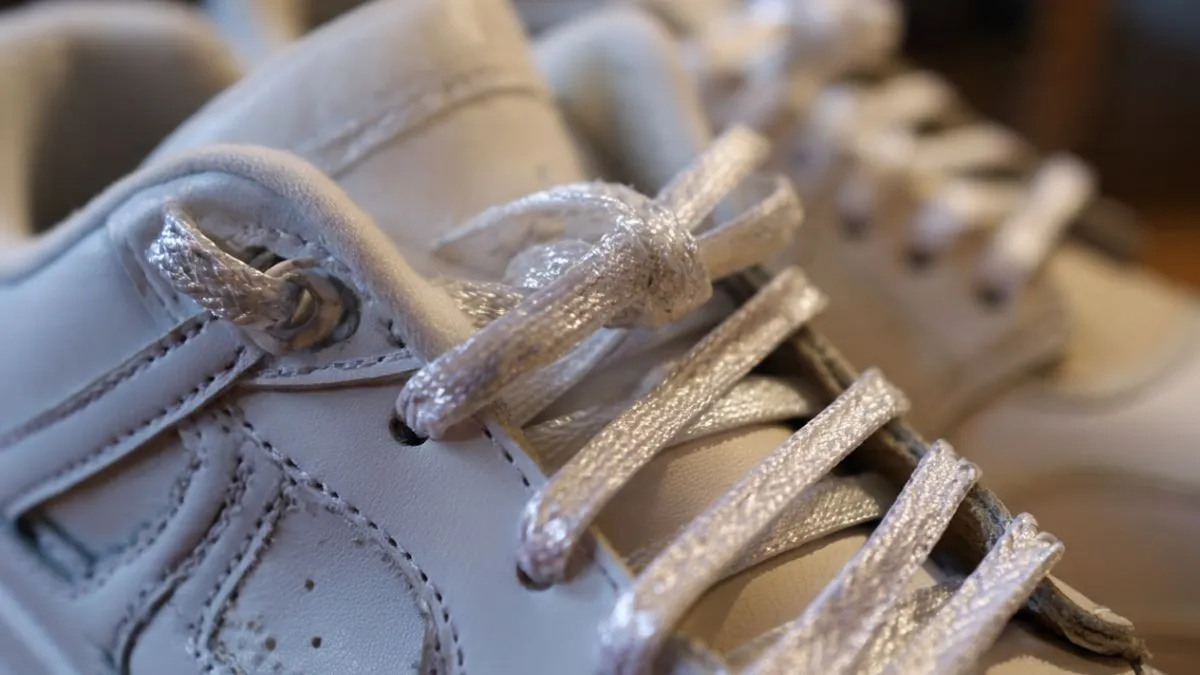
Bar lacing is a method where shoelaces run horizontally across the shoe, forming clean parallel “bars” instead of crisscross patterns.
Key features:
- Clean, minimal appearance
- Straight horizontal lace pattern
- No visible diagonal crossing
- Popular in streetwear and sneaker styling
This style is especially popular with the Jordan 1 Low because it enhances its sleek silhouette.
Why Bar Lacing Works Well for Jordan 1 Low?
The Jordan 1 Low has a structured leather upper and visible eyelets, making it ideal for bar lacing.
Benefits:
- Creates a clean aesthetic
- Reduces lace clutter
- Highlights sneaker shape
- Improves symmetry
- Popular among sneaker enthusiasts
What You Need Before Starting
Before you begin, prepare:
- A pair of Jordan 1 Low sneakers
- Flat shoelaces (preferably original or waxed)
- Clean workspace
- Optional: lace clip or tool for easier threading
Step-by-Step Guide: How to Bar Lace Jordan 1 Low:
Step 1: Remove Old Laces
Start fresh:
- Take out existing laces completely
- Straighten eyelets if needed
Why this matters:
Old lacing can interfere with symmetry and tension.
Step 2: Insert Laces into Bottom Eyelets
- Take both lace ends
- Insert them from the top into the bottom eyelets
- Ensure equal length on both sides
Tip:
Keep lace tension even for balanced results.
Step 3: Create the First Horizontal Bar
- Take the left lace
- Insert it into the next right eyelet from inside
- Pull it straight across to form a clean bar
Repeat with the other lace.
Step 4: Continue the Bar Pattern
Now repeat the process:
- Left lace goes horizontally to opposite side
- Right lace mirrors the same pattern
- Always skip one eyelet vertically
Important:
Keep all bars flat and aligned.
Step 5: Maintain Equal Tension
As you lace:
- Pull gently after each bar
- Avoid tight pulling (prevents distortion)
- Keep both sides symmetrical
Step 6: Finish at the Top Eyelets
- Once you reach top eyelets
- Insert lace ends inside shoe
- Tuck excess lace inside tongue or sides
Alternative:
You can tie hidden knots for a cleaner finish.
Step 7: Adjust for Final Look
- Straighten all bars
- Fix uneven spacing
- Ensure smooth alignment
Step 8: Final Styling Check
- Wear shoes and check comfort
- Adjust tension if needed
- Make sure no lace twists remain
Read Next: How to Make White Shoe Polish at Home (DIY, Cheap & Works Fast)
Types of Bar Lacing Styles for Jordan 1 Low:
1. Classic Bar Lacing
- Standard straight horizontal bars
- Clean and minimal look
2. Loose Bar Lacing
- Slightly relaxed tension
- More casual streetwear style
3. Hidden Knot Bar Lacing
- Laces tucked inside shoe
- Ultra-clean “no-tie” appearance
Expert Insight on Sneaker Styling:
Sneaker styling is a major part of modern fashion culture. Proper lacing not only improves appearance but also enhances comfort and shoe structure.
According to footwear design and performance principles supported by the Nike, proper lacing techniques help maintain shoe fit, support foot stability, and improve overall wear experience.
Bar lacing is widely used in sneaker culture for its clean visual appeal and structured alignment.
Effective Tips for Best Results:
- Use flat laces for best bar effect
- Keep spacing consistent between bars
- Avoid over-tightening laces
- Tuck excess lace for cleaner look
- Match lace color with outfit style
- Practice on one shoe first before full setup
Common Mistakes to Avoid:
- Uneven lace tension
- Skipping eyelets randomly
- Using thick round laces (ruins bar effect)
- Over-tightening causing shoe deformation
- Leaving long loose lace ends visible
Styling Ideas for Jordan 1 Low Bar Lacing:
1. Streetwear Look
- Pair with joggers or cargo pants
- Clean white bar lacing enhances sneaker focus
2. Minimal Outfit Style
- Neutral colors like black, white, beige
- Bar lacing adds structure
3. Casual Everyday Look
- Jeans + hoodie combo
- Loose bar lacing for relaxed vibe
How Bar Lacing Affects Comfort:
- Even pressure distribution across foot
- Reduces tight spots
- Helps maintain stable fit
- Improves walking comfort
How Often Should You Relace Jordan 1 Low?
- When laces become dirty
- When tension feels uneven
- When switching styles
- Every 2–4 weeks for fresh look
Alternative Lacing Styles:
If bar lacing is not your preference, try:
1. Criss-Cross Lacing
- Traditional sneaker style
- Most common method
2. Straight Factory Lacing
- Simple straight appearance
- Used in new sneakers
3. Loose Fashion Lacing
- Casual street style
- Relaxed fit look
FAQs:
1. What is bar lacing in Jordan 1 Low?
It is a horizontal lacing style that creates straight, clean lace bars instead of criss-cross patterns.
2. Is bar lacing better than criss-cross?
It depends on style preference. Bar lacing is more aesthetic and minimal.
3. Does bar lacing affect comfort?
No, it can actually improve even pressure distribution.
4. Can I use any lace type for bar lacing?
Flat laces work best for clean results.
5. How long does it take to bar lace Jordan 1 Low?
Usually 5–10 minutes once you learn the method.
6. Do I need special tools?
No, just standard shoelaces are enough.
7. Can bar lacing damage shoes?
No, it is completely safe when done properly.
Final Thoughts:
Learning how to bar lace Jordan 1 Low is a simple but powerful way to upgrade your sneaker game. It transforms your shoes into a cleaner, more stylish, and modern-looking pair with minimal effort.