How to Lace Jordan 1 Low Without Tying | Clean No-Tie Style Guide
The Air Jordan 1 Low is one of the most versatile sneakers in streetwear. It’s stylish, comfortable, and easy to wear—but the traditional lace bow can sometimes ruin the clean aesthetic many sneaker lovers want.
That’s why more people are searching for ways to lace Jordan 1 Low without tying them, creating a sleek “slip-on” look while still keeping the shoe secure.
In this guide, you’ll learn How to Lace Jordan 1 Low Without Tying, step-by-step instructions, styling tips, and expert sneaker advice to keep your Jordans looking clean and comfortable.
Why Go “No-Tie” With Jordan 1 Low?
Before jumping into techniques, it helps to understand why this trend is so popular in sneaker culture.
People prefer no-tie lacing because:
- Cleaner streetwear aesthetic
- No visible bow or dangling laces
- Faster to put on and remove
- Reduced lace wear and tear
- More modern, minimalist sneaker look
The Jordan 1 Low is especially suitable because its structured leather upper holds shape well, even without tight knots.
Important Concept: No-Tie Does NOT Mean Loose:
A common misconception is that no-tie lacing makes shoes loose.
That is incorrect.
Proper no-tie lacing means:
- Laces are secured inside the shoe
- Tension is evenly distributed
- Foot remains locked in place
- No visible knot or bow
You still get full support—just a cleaner finish.
How to Lace Jordan 1 Low Without Tying:
Method 1: Hidden Knot Lacing (Best Overall Method)
This is the most popular way to lace Jordan 1 Low without tying visibly.
Step 1: Start Normal Crisscross Lacing
Begin at the bottom eyelets and lace upward in a standard crisscross pattern.
Keep tension even on both sides.
Step 2: Adjust Fit Properly
Before finishing:
- Ensure heel is locked
- Midfoot feels snug but not tight
- Toe area has slight comfort space
Step 3: Stop One Eyelet Before Top
Do not lace all the way to the final top hole.
Stop one level below.
Step 4: Tie Inside the Shoe
Take both lace ends and:
- Tie a small, tight knot
- Place it inside the tongue area
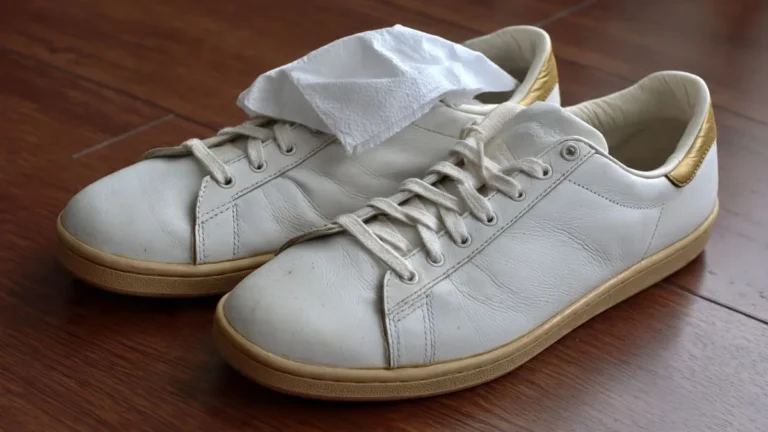
Step 5: Tuck and Smooth Tongue
- Flatten the tongue over the knot
- Adjust so nothing is visible
✔ Result: Clean sneaker look with secure hold.
Method 2: Lace Lock Technique (Sport-Inspired Fit)
This method is inspired by athletic footwear systems and provides strong lockdown.
Step 1: Lace Normally to the Top
Use crisscross lacing all the way up.
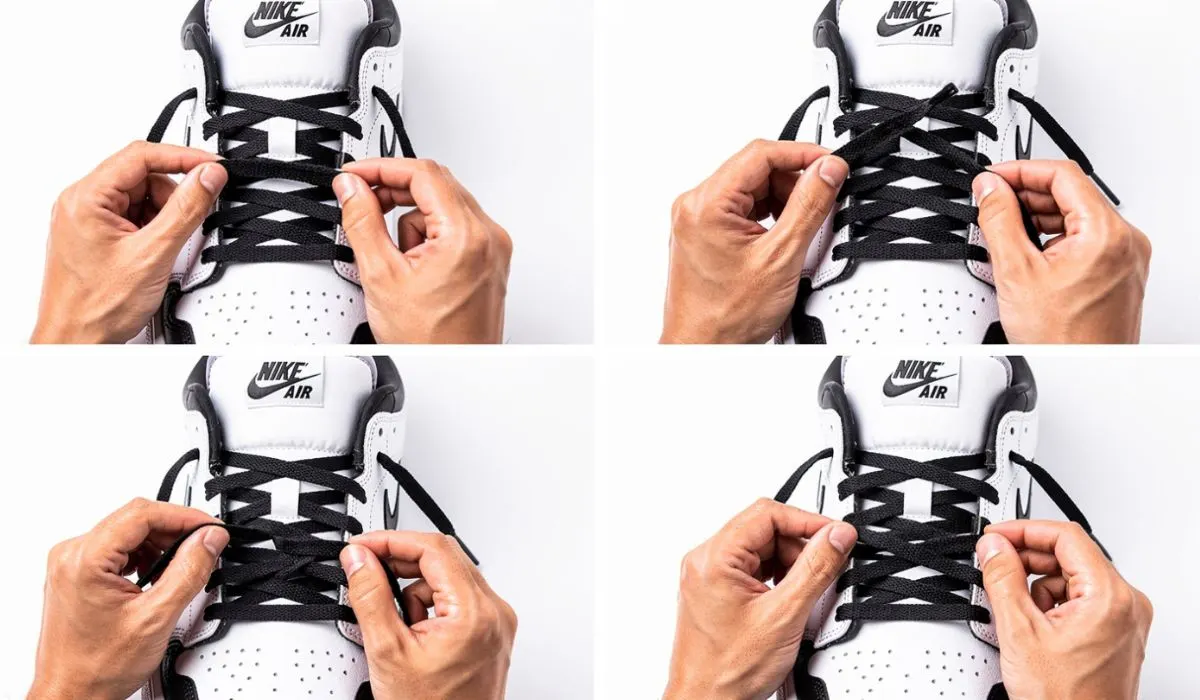
Step 2: Create Small Loops
At the top eyelets:
- Form a loop on each lace side
Step 3: Cross and Pull Through
- Cross lace ends through opposite loops
- Pull tightly to lock tension
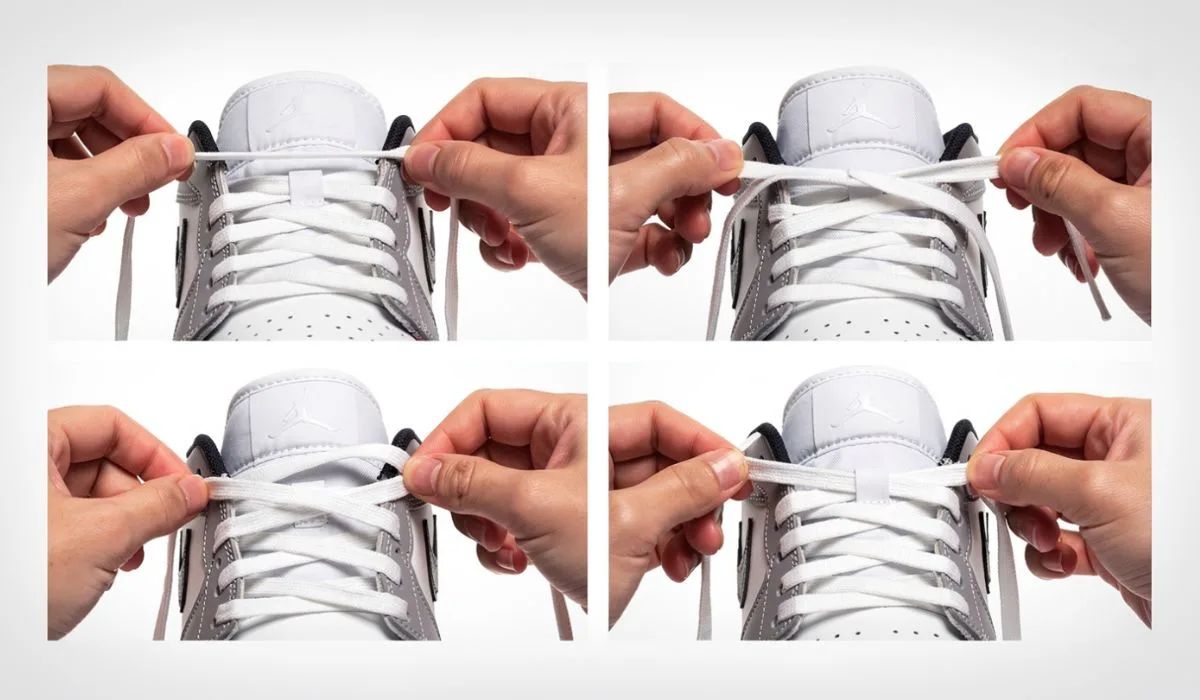
Step 4: Tuck Inside Shoe
Instead of tying a bow:
- Hide lace ends inside shoe collar
✔ Result: Tight fit with no visible knots.
Method 3: Bar Lacing for Clean Streetwear Look
This method gives a very aesthetic, “flat lace” style often seen in sneaker fashion.
Step 1: Insert Laces Straight Across
Start from bottom eyelets and run laces straight horizontally.
Step 2: Continue Upwards
Instead of crossing:
- Go straight across each row
- Maintain even spacing
Read Next: Are Training Shoes Good For Walking | Comfort, Support & Best Use
Step 3: Maintain Balanced Tension
Avoid over-tightening to keep shoe comfortable.
Step 4: Hide Lace Ends
At the top:
- Tuck ends inside shoe
- Or secure with hidden knot under tongue
✔ Result: Minimalist, clean Jordan 1 Low look.
Method 4: Elastic No-Tie Conversion (Slip-On Feel)
This method turns your Jordan 1 Low into a near slip-on sneaker.
Step 1: Replace Regular Laces
Swap cotton laces with elastic sneaker laces.
Step 2: Lace Normally
Follow standard crisscross pattern.
Step 3: Adjust Comfort Fit
Elastic laces should feel snug but flexible.
Step 4: Lock Ends
- Tie small knot inside shoe OR
- Use lace clips
✔ Result: Easy slip-on wear with secure fit.
Method 5: “Sneaker Tuck Method” (Quick & Simple)
Perfect for beginners.
Step 1: Lace Normally
Go all the way to the top.
Step 2: Tie Small Knot
Make a simple knot at the end.
Step 3: Tuck Inside Collar
Hide knot inside shoe collar or tongue.
✔ Result: Fast no-tie solution with minimal effort.
Best Method for Jordan 1 Low:
For most people, the best option is:
✔ Hidden Knot Lacing
Because it:
- Maintains strong fit
- Keeps sneakers clean-looking
- Works for daily wear
- Is easy to adjust
Sneaker Culture Insight:
Sneaker design is not random—it is engineered for both performance and comfort. Brands like Nike, which produces the Air Jordan line, design lacing systems that allow:
- Foot stability
- Ankle control (for high/low variations)
- Pressure distribution across the foot
- Custom tension adjustments
This is why Jordan 1 Low can safely support no-tie lacing when done correctly.
Effective Tips for Perfect No-Tie Lacing:
- Always test fit by walking before finalizing
- Keep lace tension even on both sides
- Avoid over-tightening the toe box
- Use waxed laces for better grip
- Double knot hidden laces for security
- Adjust tongue position for clean look
Common Mistakes to Avoid:
- Making shoes too loose (heel slipping issue)
- Uneven lace tension
- Visible bulky knots
- Over-tightening midfoot
- Not testing walking comfort
Benefits of No-Tie Lacing for Jordan 1 Low:
- Clean, modern sneaker aesthetic
- Faster wear and removal
- No loose or dangling laces
- Better streetwear styling
- Reduced lace damage over time
- Comfortable daily wear
Maintenance Tips:
- Check lace tension every few days
- Replace worn laces regularly
- Clean eyelets to avoid friction
- Re-adjust after long wear sessions
- Keep spare laces for customization
FAQs:
1. Can I lace Jordan 1 Low without tying?
Yes, using hidden knots, lace locks, or elastic laces.
2. Will my shoes become loose without tying?
No, if tension is properly adjusted and secured.
3. What is the easiest method?
The sneaker tuck method is the fastest.
4. Are elastic laces good for Jordan 1 Low?
Yes, they work very well for slip-on comfort.